

🪝 Seller Webhooks
Before You Start Implementing Webhooks
In order to respond in a timely manner, we suggest setting up a queue to process webhook payloads asynchronously. Your server can respond when it receives the webhook, and then process the payload in the background without blocking future webhook deliveries. Background processing of webhooks is preferred over inline processing.
Background Processing vs Inline Processing
Inline processing involves executing tasks immediately within the current execution context, potentially leading to longer response times. Background processing involves deferring tasks asynchronously, placing them in a queue for later execution. This allows the application to quickly respond to initial requests without waiting for the task to complete.
How should I handle webhook requests?
When receiving a request, it’s essential to be attentive regarding three key issues:
- Quickly respond to webhook requests
- If an incoming webhook triggers lengthy processing in your system, we recommend you create a processing queue for events. If you don’t implement a process, a timeout may result, and you will receive a webhook retry.
- Place importance on responsiveness over availability
- As the handler of incoming webhooks, ensuring continuous availability is paramount. Fortunately, the response to a webhook doesn’t need to include the processing results in it. Your setup can acknowledge the webhook request initially and process it later, facilitated by introducing queues between receipt and processing.
- Duplicate incoming events
- We can’t guarantee that webhook messages will be delivered only once, so it’s essential to include a mechanism that prevents duplicated events.
Webhook Security Best Practices
- Keep your API Key secure
- Always check the incoming webhook’s authorization against your API key
- Validate the data structure of the message
Overview
Webhooks allow you to subscribe to events from Coinflow about when a seller has registered their account.
Implementation
- Navigate to your marketplace dashboard
- Copy your Webhook Validation Key.
🚧 Keep this Validation Key secret, but if it gets leaked you can easily regenerate it.
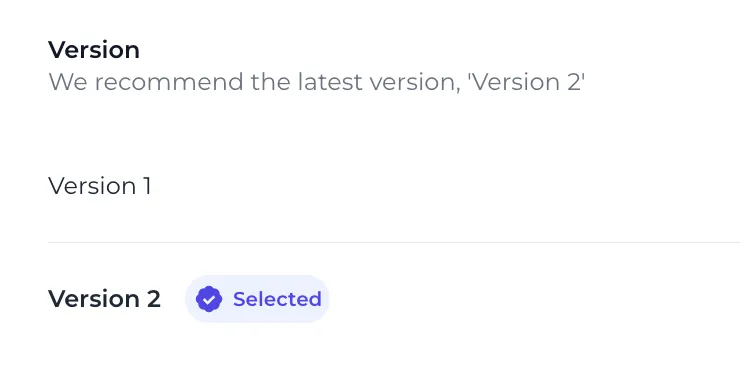
- Select Version 2
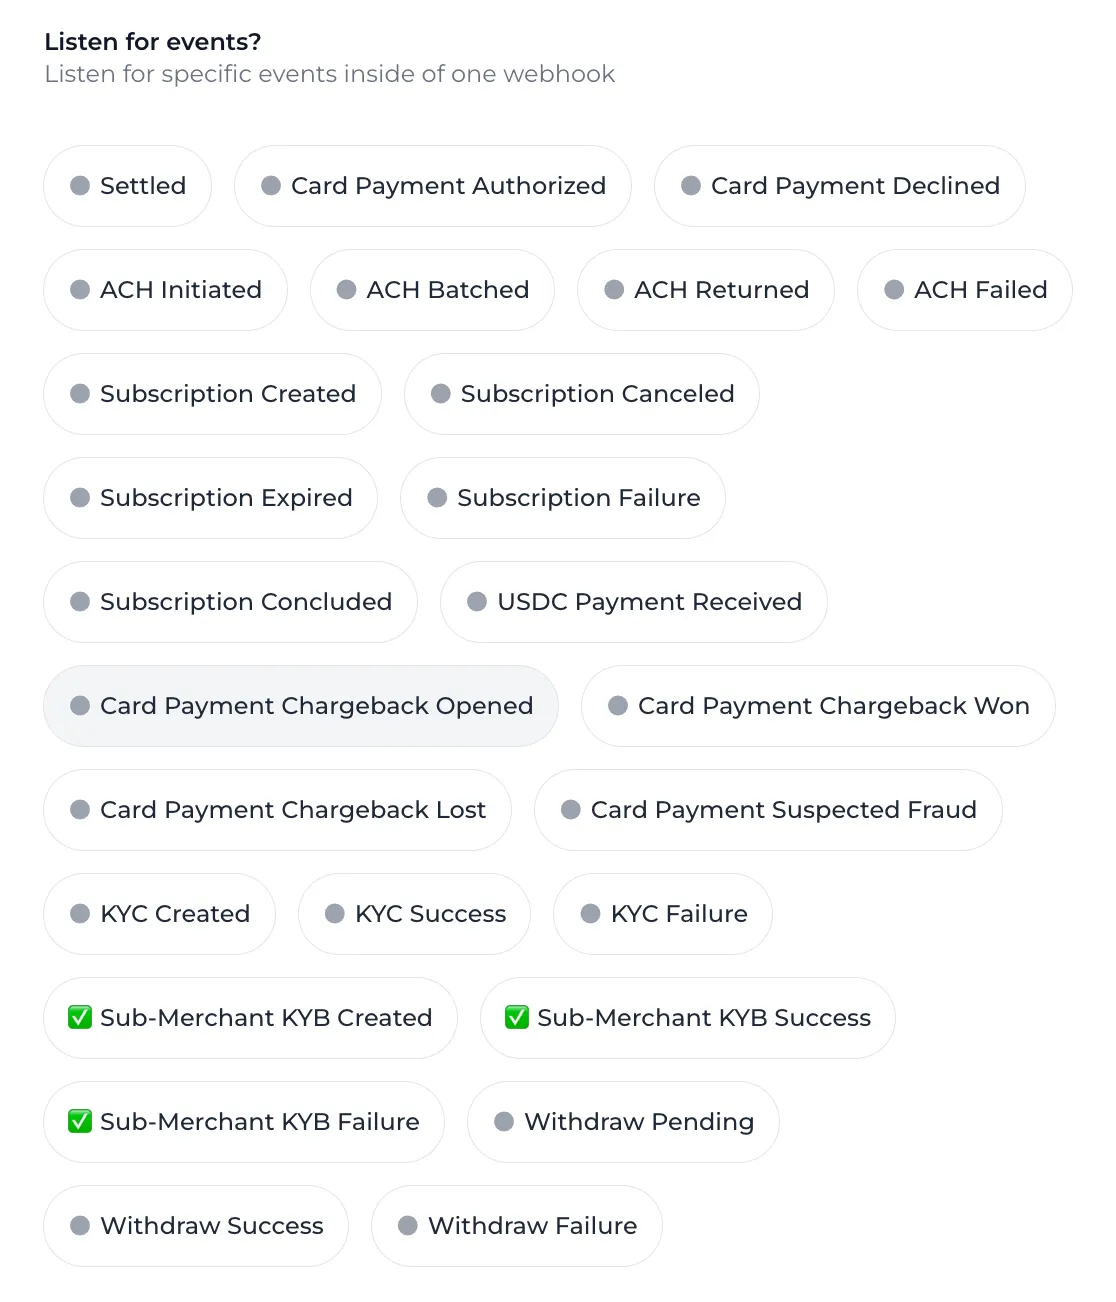
- Select the event types to listen to.
-
For seller registration events, select:
Sub-Merchant KYB Created,Sub-Merchant KYB Success,Sub-Merchant KYB Failure
-
For sub-merchant onboarding progress, select the following. See Onboarding Webhooks for when each fires and how to handle it:
Sub-merchant Application Submitted,Sub-merchant Application Approved,Sub-merchant Application Declined,Sub-merchant RFI Sent,Sub-merchant RFI Submitted,Sub-merchant Bank Account Rejected
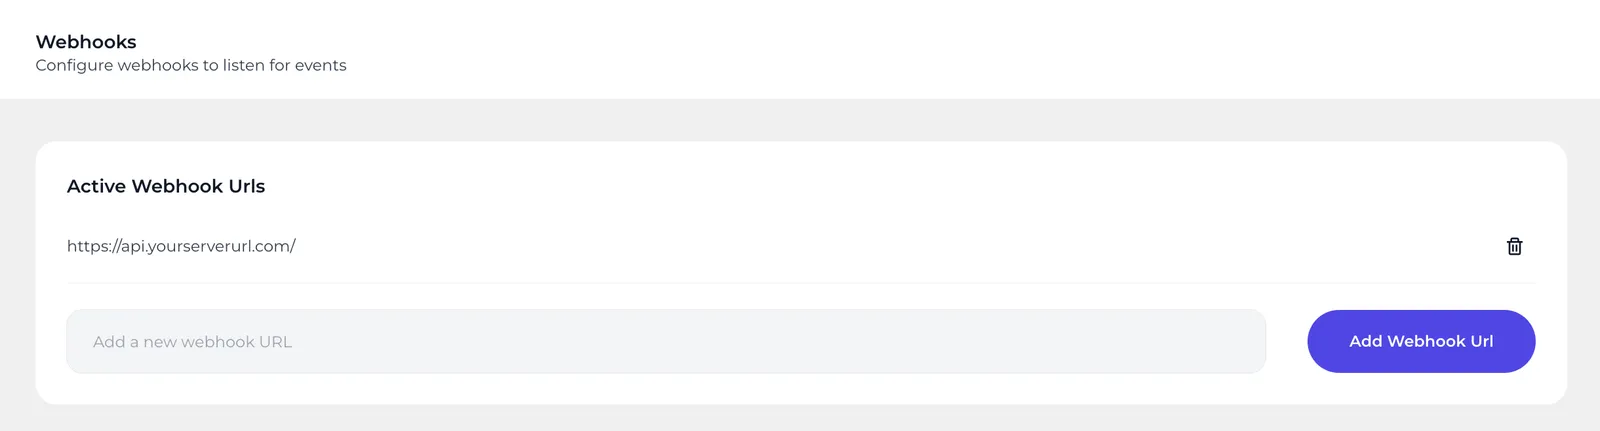
- Enter a URL route to your server endpoint
- In your server, create a route that accepts a POST request on that url and route
🚧 Ensure that the
Authorizationheader in this request matches your Validation Key to verify its origin as Coinflow.
📘 Webhooks will retry until your server returns a 200 response code
or until it times out after 36 hours. Webhooks will also time out after 5 seconds without a response and will retry, so make sure your server responds within 5 seconds.
- The webhooks will contain the following data:
Sub-merchant onboarding events carry the sub-merchant’s onboarding status instead of an email:
- Done! Try listening to different event types by subscribing to the different options below
Event Types
📘 Sub-merchant onboarding events are not sent for a sub-merchant whose webhook settings turn off forwarding to its parent.